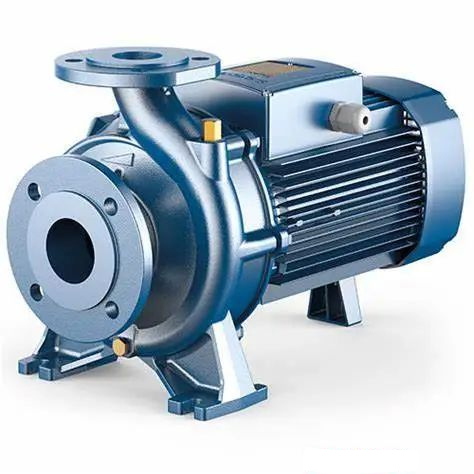
Centrifugal Pump Maintenance ‖ Industrial Pump Repair Guide

Industrial Pump Repair Steps Make your equipment look brand new through 8 steps
Ensure you have all tools and instruments ready, and that your stored spare parts are free from contamination by dust and other particles. Once prepared, strictly follow the sequence of the steps below to complete them one by one.
1: Check for poor sealing and gaps in the pump packing
The most common problem with industrial pumps is leakage caused by wear on the pump casing or cracks in the structure. All connections and packing seals on the pump should be inspected, and the leakage from the packing seal should be controlled to approximately 20 drops per minute. If more liquid is found flowing out, it indicates that you should replace the packing.
2: Isolate the driver and the pump
Safety is the most critical factor in any repair. If any leakage is found, ensure that the driver is disconnected from the pump, and wait for the pump to cool down before proceeding with subsequent work.
3: Remove the old packing
Although some leakage problems may be caused by poor sealing or loose components, most issues are due to defective packing. Therefore, the next step should be to remove the old packing from the industrial pump's stuffing box. Note: A new layer of packing should never be added over the old packing! Merely "patching" the packing with a new layer of material will not prevent future leakage, and if this method is adopted, you will most likely face the same problem within 1-2 months.
4: Install new packing around the shaft to prevent further damage
After removing the damaged packing, carefully clean the stuffing box and inspect the shaft. Do you see any residual dirt, metal shavings, or signs of any other abnormal wear? If you are in Texas and encounter such a situation, you may consider seeking professional industrial pump repair personnel in Houston for further inspection.
If the shaft is in good condition, you can start installing the new packing. When installing the new packing, ensure that there are no gaps at the joints to prevent leakage. If there are signs of wear or damage on the shaft, do not reinstall the packing. Consult pump repair experts to see if the shaft can be repaired through High-Velocity Oxygen Fuel (HVOF) spraying services, reverse engineering, or remanufacturing.
Now you can start filling the stuffing box, but pay attention to the following matters:
· The joint of each ring of packing should be staggered 90° from the previous joint.
· Place the liquid seal ring near the coolant port.
· Ensure a tight seal, and do not use any sharp tools to avoid scratching the surface of the shaft.
Completing the above steps will ensure that the new packing is waterproof and prevent leakage.
5: Tighten the follower on the stuffing box cover
Now that the difficult part is done, you need to recheck the leakage of the stuffing box. Is the leakage still high? If so, you need to tighten the follower (packing gland) and control the leakage to approximately 20 drops per minute. When tightening the packing gland, do it gradually (about half a turn every 10 minutes).
6: Clean and inspect bearings and couplings
During long-term operation, bearings often overheat. Over time, they may become contaminated with metal shavings. Therefore, once the industrial pump has shut down and cooled down, it is necessary to clean all joints and grease cups. Do you see (worn) metal shavings in the bearings, seals, or couplings? If so, you need to replace them.
7: Lubrication
After removing all grease and foreign matter from the lubricated components, it is time to lubricate them. Be careful not to over-lubricate, as excessive lubricant will generate more heat when the pump is running.
8: Check motor strength and pump flow
Reassemble the industrial pump equipment and conduct a test. Is the motor working as expected and with sufficient strength?
